We’ve all heard the phrase, "If you can dream it, you can achieve it." But sometimes, our dreams need a little help getting organised, visualised, and brought to life. That's where a vision board comes in. A vision board is a powerful tool for manifesting your goals, dreams, and ambitions by creating a visual reminder of what you're working toward. And what better way to combine your aspirations with a practical system than by using a wall planner?
Vision boards are changing our mindset and positivity
We know that setting clear intentions and breaking down big goals into manageable steps can help you achieve your vision. Whether you’re working towards a career change, family goals, or a healthier lifestyle, your wall planner can be a key player in creating a vision board that both inspires and organises. Here’s a step-by-step guide to transforming your wall planner into a vision board that keeps you focused and motivated every day.
What is a Vision Board?
A vision board is essentially a visual collage representing your goals and desires. It’s filled with images, words, and phrases that capture what you want to achieve. Traditionally, vision boards are made on poster boards with magazine cut-outs and photos, but by using a wall planner, you can turn this practice into something more dynamic, flexible, and integrated into your daily life.
Why Use a Wall Planner as a Vision Board?
Using your wall planner as a vision board allows you to mix inspiration with action. Instead of simply looking at your goals, you can take tangible steps toward achieving them by scheduling tasks, setting deadlines, and tracking progress all in one place. Plus, because our acrylic wall planners are reusable, you can easily adjust your goals and plans as life evolves.
Step 1: Clarify Your Vision
Before you start building your vision board, take some time to clarify what you truly want. Ask yourself:
What are the key areas of my life I want to improve?
What are my long-term goals for the next year, five years, or even ten years?
What does success or happiness look like for me?
Break your vision down into different categories, such as career, health, relationships, financial goals, and personal growth. This will help you focus on specific areas and ensure that your vision board reflects all aspects of your life.
Step 2: Gather Inspiration
Now that you’ve clarified your vision, it’s time to gather the images and words that represent your goals. Here are some ways to collect inspiration:
Magazines and Online Printables: Find images, quotes, or phrases that resonate with your goals. Look for visuals that evoke the emotions and results you want to feel. Websites like Pinterest are full of free printables that can also be a great resource. Print them out and stick them on your planner
Personal Photos: Incorporate photos that remind you of your "why"—your family, friends, past achievements, or places you want to visit. Adding personal elements makes the vision board more meaningful.
Words and Affirmations: Don’t underestimate the power of words. Positive affirmations, motivational phrases, or even a single word like "balance," "growth," or "courage" can serve as powerful daily reminders. You can even pop these on your mirror!
Step 3: Use Your Planner as the Canvas
Your wall planner serves as the foundation for your vision board. Since the planner is already part of your daily routine, it’s a perfect place to keep your goals front and centre. Here’s how you can start:
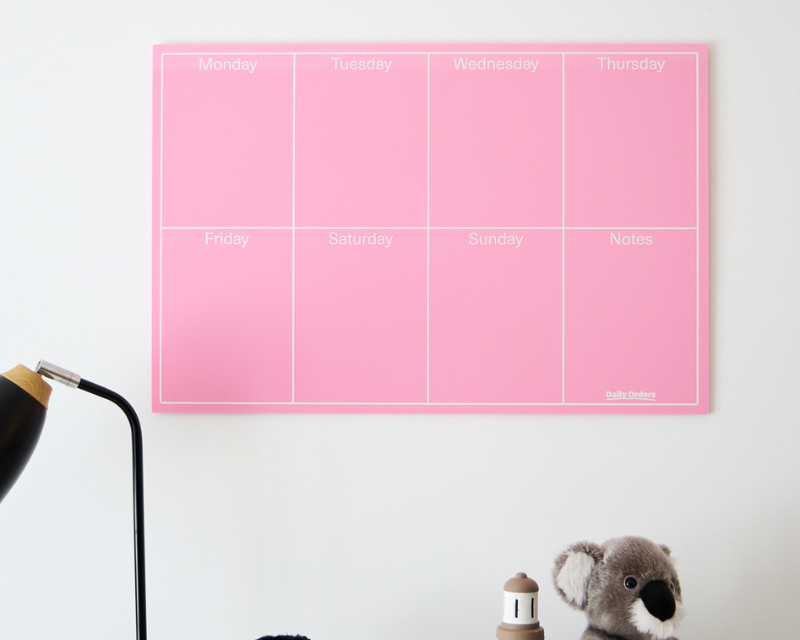
Divide by Categories: If you’ve broken down your vision into different categories like health, career, and personal growth, you can use different sections of your planner to represent these areas. Our Weekly Wall Planner is great for separating goals by day, week, or category, making it easy to organise your vision into manageable steps.
Add Visuals: Attach images or words directly onto or around your planner using magnets, sticky notes, or clips if you prefer to keep the surface clean. You could also tape or pin visuals onto the wall next to your planner if you're using it in a central spot in your home.
Use Colour: Colour-code your planner to reflect different goals or areas of your vision board. For example, you could assign blue for health goals, green for career progress, or yellow for personal growth. This allows you to see what areas of your life you're focusing on and where you need to dedicate more attention.
Step 4: Set Goals and Break Them Down
A vision board isn’t just about dreaming; it’s about taking action. Once you’ve created a visual representation of your goals, use your wall planner to break them down into manageable steps:
Set SMART Goals: SMART stands for Specific, Measurable, Achievable, Relevant, and Time-bound. For each goal on your vision board, write down the specific steps you need to take. For example, if your goal is to start a new career, your action steps could be: research courses, update CV, and apply for jobs.
Create a Timeline: Use your planner to assign deadlines to each of your goals. This helps ensure that you stay on track and make steady progress. Whether it’s marking out key dates on a Monthly Wall Planner or setting weekly to-dos, a timeline brings structure to your vision.
Track Your Progress: Regularly check in with your planner to track how far you've come. You could create a progress tracker using small symbols or checkmarks, or dedicate part of your planner to jotting down reflections on your journey. This keeps you accountable and motivated.
Step 5: Make Your Vision Board Dynamic
Life changes, and so do our goals. That’s why your vision board should be flexible enough to evolve with you. One of the advantages of using an acrylic wall planner is that you can adjust it as your vision grows.
Erase and Update: As you achieve goals or shift priorities, you can easily wipe your planner clean and add new aspirations. This keeps your vision board fresh and relevant without needing to create a brand-new one each time.
Add New Visuals: As you move through the year, swap out old images or words with new ones. This keeps your vision board in line with the current season of your life, and it gives you the freedom to adapt your dreams as you go.
Step 6: Keep Your Vision Visible
One of the key benefits of using a wall planner as a vision board is that it’s in constant view, reminding you of your goals each day. Place your planner in a high-traffic area where you’ll see it often—whether that’s your home office, kitchen, or living room. The more you see your vision, the more likely you are to stay committed to achieving it.
Make Your Dreams Happen
Turning your wall planner into a vision board not only helps you visualise your dreams, but it also brings your goals into your daily life. You’ll be more motivated to take action when your vision is front and centre, organised, and broken down into achievable steps. We believe that dreams need a little structure to become reality—and that’s exactly what our wall planners are designed to do.
Start creating your vision board today with one of our acrylic wall planners and take the first step toward turning your dreams into achievements. After all, the future belongs to those who plan for it!